How to Use Custom Gradients in Photo Editing for Stunning Results
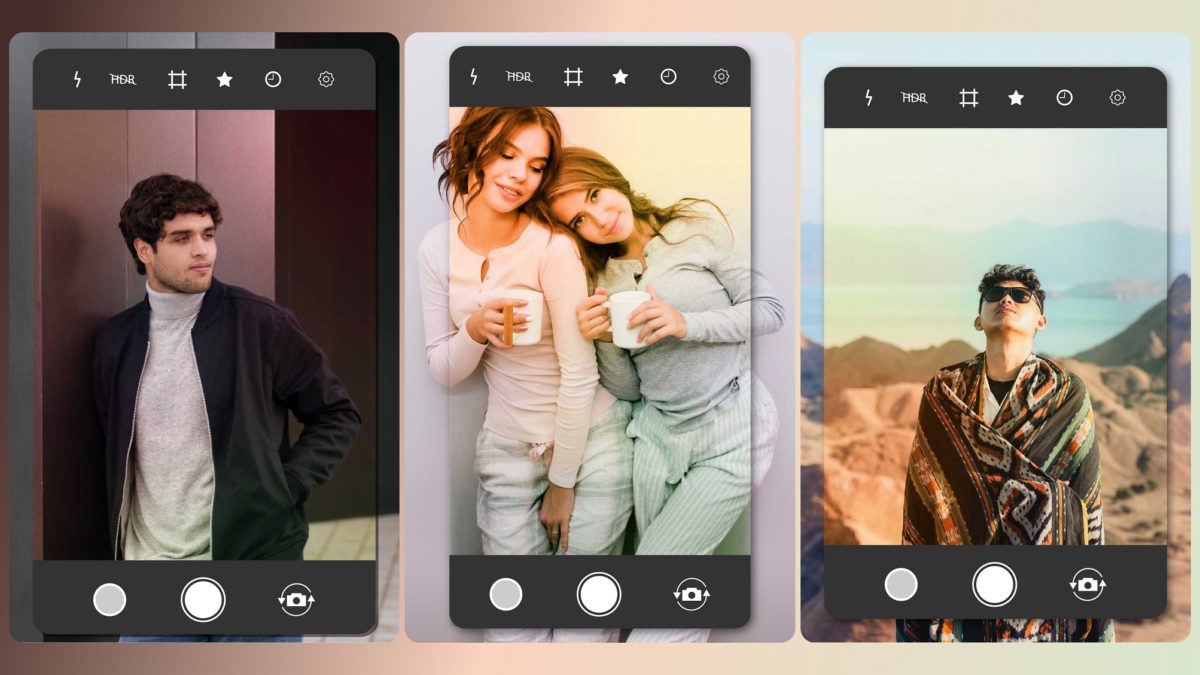
Color gradients add a modern and refined aesthetic to the age-old practice of photo coloring. Gradients, which are also called color transitions, are color combinations in which one color gradually fades into another and can include any number of colors. Gradients can add style and elegance to a photograph that it would not have otherwise. The Custom gradient feature of the MyZesty app allows you to create a gradient overlay for your images.


What is a gradient?
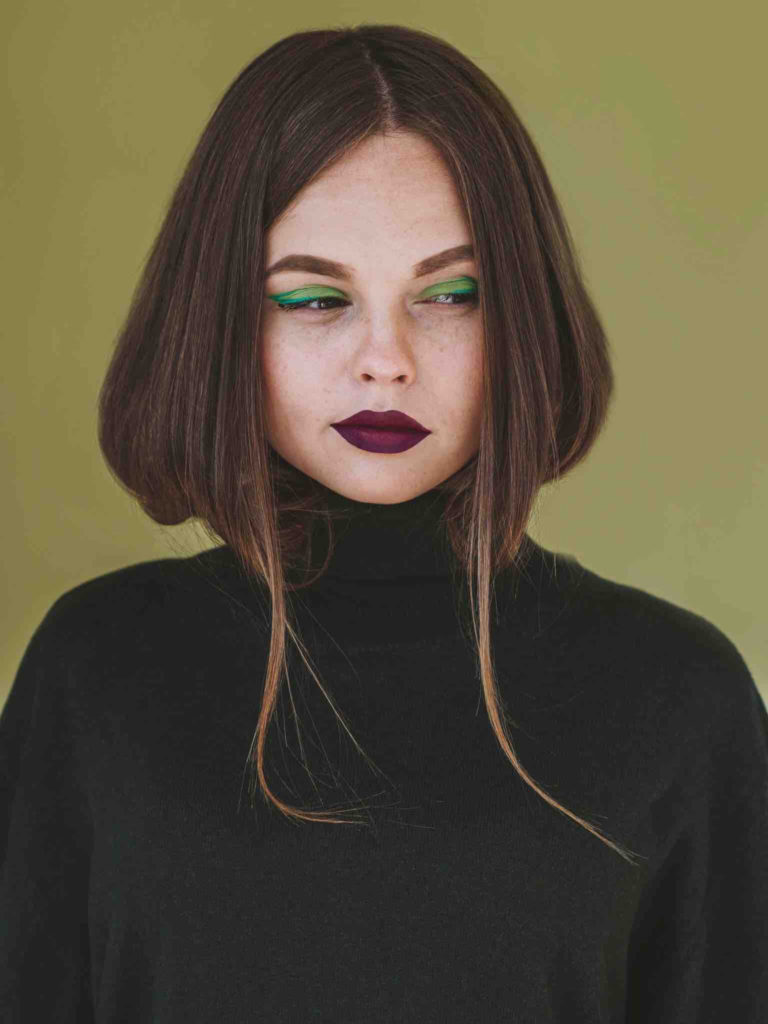
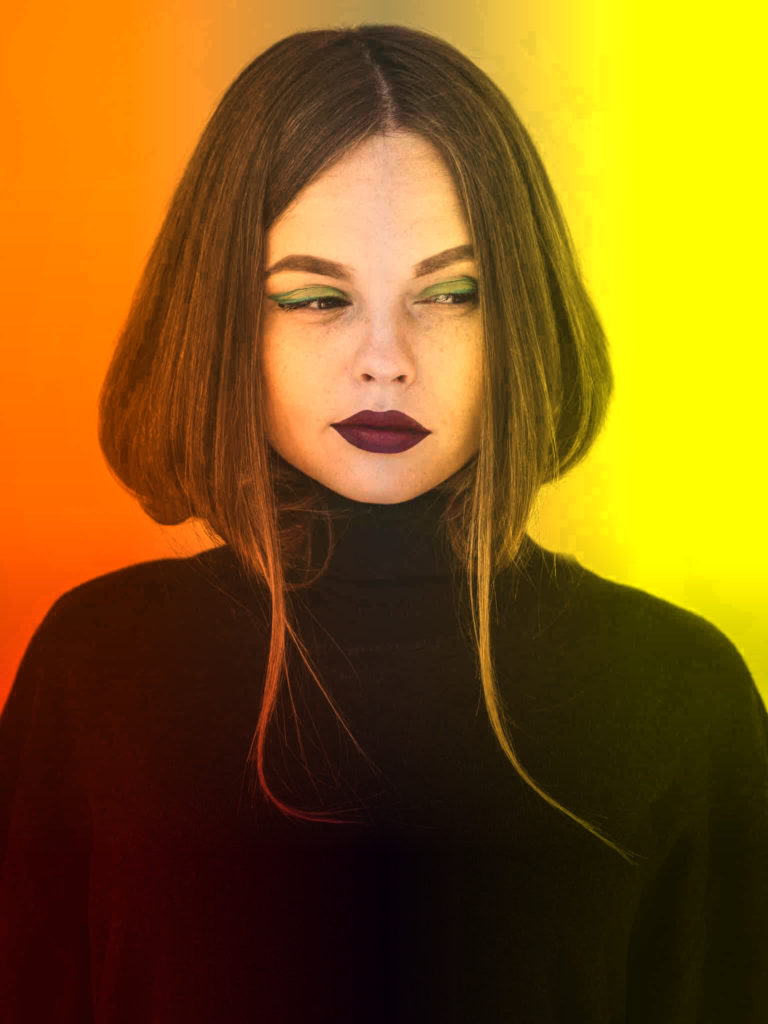
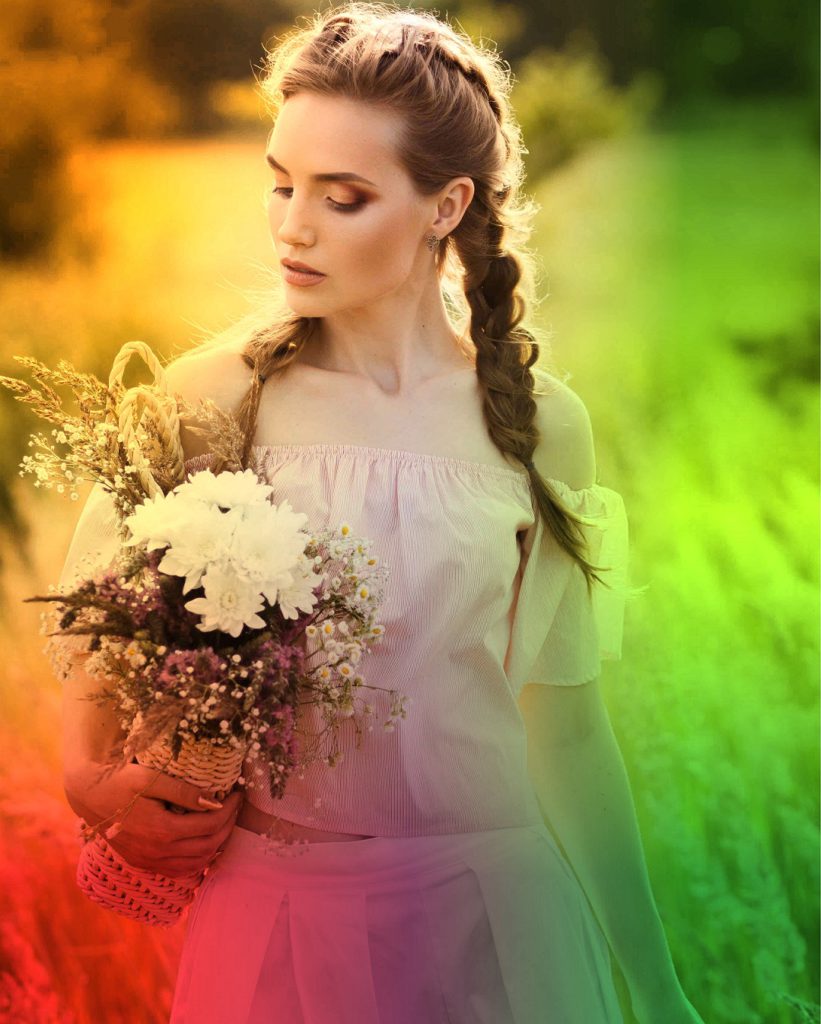
The term “gradient” refers to a gradual, smooth transition from one color to another. Gradients are created by adding two or more colors onto a photo in such a way that their hues change gradually from one to the next. When editing photos, using gradients can make them more engaging and eye-catching. Rather than using a single solid color throughout the image, a gradient can be used to create a smoother, more natural transition between colors in a photo. Gradients are a fantastic way to add some pizzazz to an otherwise dull image. Gradient images are always more eye-catching and visually stunning because of the way they bring photos to life with their unique color blend.
Why gradient?
In recent years, gradients have become an integral part of the image editing process, and their absence would be greatly felt. Nowadays, gradients are commonly used because of the emotional response they elicit in the user. By blending colors together, gradients allow people to make something that stands out from the norm.
Gradients can be seen all over nature. As you can see in the leaves and fruit, it is natural for colors to gradually fade from one color to another. Gradients allow people to create something unique by blending colors. People can create a new range of colors that did not previously exist by combining different colors, giving their images a distinct and aesthetic look. There’s a lot of room for creativity, and the possibilities for new ideas are practically limitless.

How to create a gradient using MyZesty?
The use of different color tones is, of course, the foundation for creating beautiful gradients. Most apps only offer a few pre-made gradient templates in a limited color palette. MyZesty’s Custom tool, on the other hand, allows you to use any color you want to create your own custom gradient. You can create your own filters in MyZesty, which are referred to as “Custom” presets (You can learn more about Presets here). You can save your customized edits as a preset and use them on other photos at any time. It is simple to create a personalized preset with MyZesty. If you follow these steps, you’ll be able to create and save your own custom presets.
Creating custom gradients using MyZesty App: A step-by-step guide
Step 1 – Select Custom in the image editor
Open the MyZesty app, go to the image editor, and then click on Custom.
Step 2 – Select a template
Here, you can choose from 9 templates, which gives you the option to decide how much control you want over your preset.
Step 3 – Get creative
Now is your chance to show how creative you are. By tapping on each grid, you can choose a color with different levels of opacity.
Step 4 – Set the additional settings
Once you’re satisfied with the colors and color tune that you’ve selected, you can adjust the overall opacity of the template. You can also change the overall template’s orientation and size to better suit your needs.
Step 5 – Save your preset
Creating your own presets is a fun way to try out different looks for your photos, but the most important thing is that you can save the result and use it on other photos later. You can save your custom presets by clicking the Save icon. You can always find your presets in the “My Own Presets” tab.
Pro tips:
- You can share your presets with others. All you have to do is check the box that says “Allow to share my preset with others” while saving your own presets. This will allow other MyZesty users to use your presets.
- You can always change the colors or other settings in your preset and save the new version.
Still not sure where to begin?
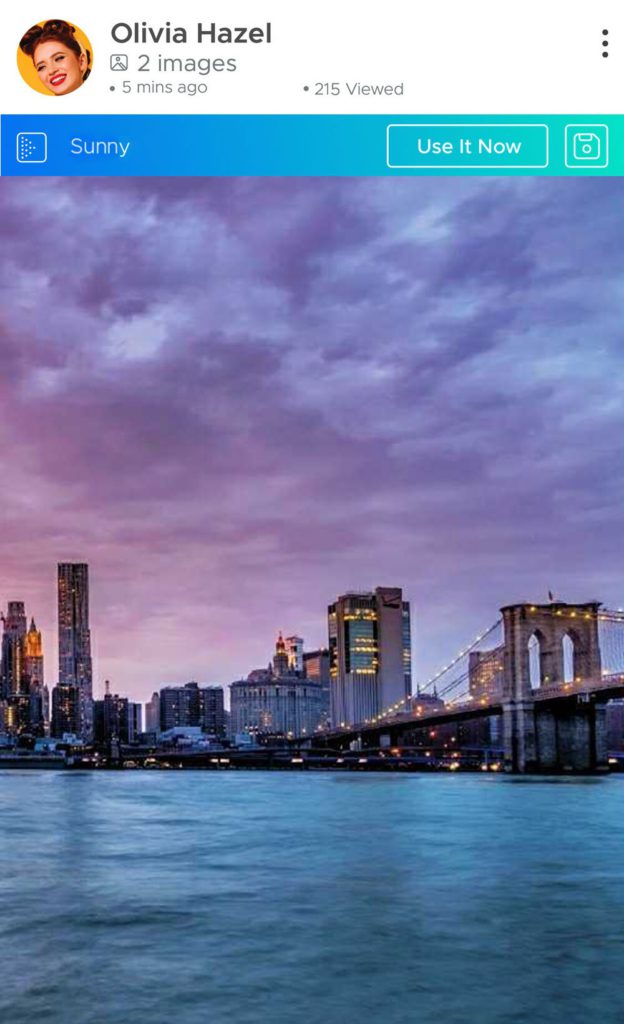
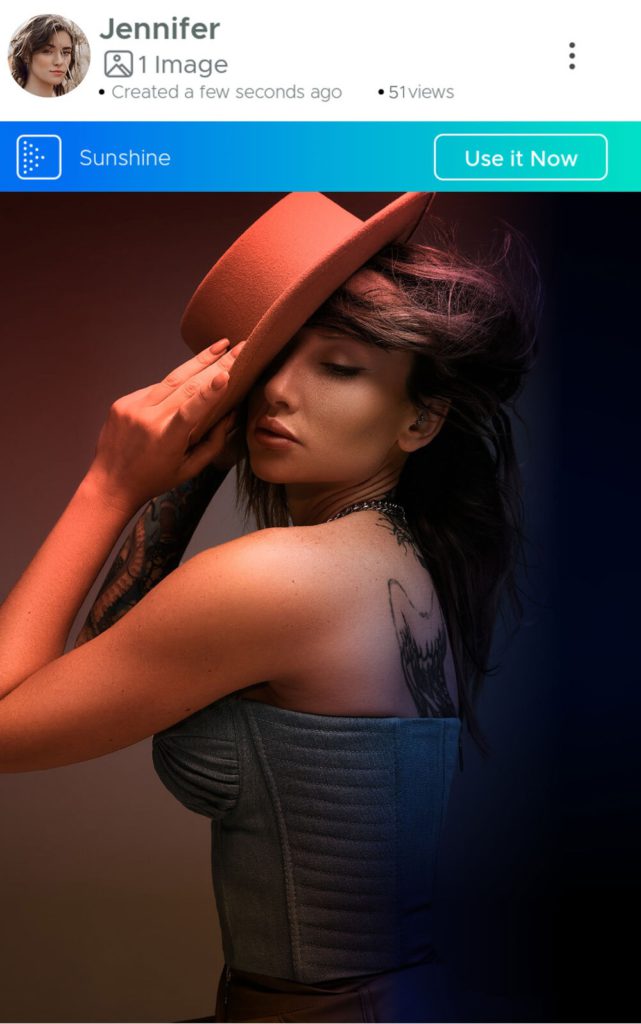
Sometimes all you need is a little push. A few custom gradients examples may be all you need to spark your imagination and unleash your creative potential. If you’re having trouble creating a good gradient, our app provides several examples to help you get started. You can easily find a wide range of content created by other users. Take a look at what other users have posted to get some inspiration for creating your own gradients. If you’re having trouble making your own presets, remember that you can always use presets made by other users, modify them to your liking, and use them in your own work.
Do you want more help learning how to use the gradient tool? Check out our YouTube channel for some excellent tutorials on how to use custom gradients like a pro. These tutorials will show you how to create your own preset, save it for later use, and even share it with others. If you’re the type of person who’s always eager to expand your knowledge, then you should definitely subscribe to our YouTube channel and prepare to be impressed by our informative tutorials.
You should now be ready to create your own custom gradients presets. By creating your own custom presets, you can save time and effort while enhancing your productivity and creativity. Download the MyZesty app from the Google Play Store or the App Store to start creating your own presets. To learn more about the app and its features, sign up for a free MyZesty account today.

